Design Simple, Safe, and Supportive Intake Forms (Clinical Intake Process for Health Practice)
Your forms are often the first real experience a new client has with your clinic. They can either say “you’re safe here” or “brace yourself for paperwork.” When you get the clinical intake process for health practice right, you set a calm, confident tone that carries through the entire relationship.
In this guide, you’ll learn how to design clinical intake forms that feel simple, safe and human. You’ll gather what you need for legal and clinical reasons, skip what you don’t and help clients feel taken care of before they ever walk in the room.
Why Your Clinical Intake Forms Are a Big Deal
Here’s the hard truth. One confusing or overly long form can scare people off. I’ve seen clients almost cancel because they weren’t sure why so much was being asked, or they couldn’t remember details from decades ago. That’s not a memory problem, it’s a design problem. Good forms don’t shame or overwhelm. They guide, reassure and make it clear what’s needed now and what can wait.
First impressions matter. When your forms are clear and kind, clients feel welcomed and understood. When they’re long or full of jargon, clients feel overwhelmed and mistrustful. For solo practitioners, this is extra important. Thoughtful forms save you hours of back-and-forth, cut cancellations and keep you focused on care. Remember too, that the clinical intake form is just one part of the overall client intake process.
Keep your forms simple, safe and human.
Common Mistakes to Avoid in Your Clinical Intake Forms
These are quick wins that prevent a lot of stress. They come up often, regardless of whether you’re working with acupuncture, bodywork, physiotherapy, or anything in between.

Mistake 1: Asking for Too Much Too Soon
If your first form tries to gather everything, clients will either rush through or stop halfway. You don’t need every detail before the first appointment.
Many clients, especially older adults, simply don’t remember early-life illnesses or dates. That’s normal. Make it easy to say “not sure” or “can’t remember when” and let them know you’ll revisit details later.
Mistake 2: Using Medical Jargon
Plain language shows respect. You want clients from any background to feel confident completing your form.
The rule of thumb: if a 9-11-year-old can understand it, you’re on the right track.
Mistake 3: Forgetting to Explain How You Use the Data
People are wary of sharing sensitive information. Tell them why each section matters and what you’ll do with it. If a client can’t remember an answer, reassure them. If it’s fine to leave it blank and follow up during the appointment, then make that clear.
Clients also want to know what happens after they submit. Do they get a confirmation? What’s next?

Mistake 4: Gathering Data in Unsafe Ways
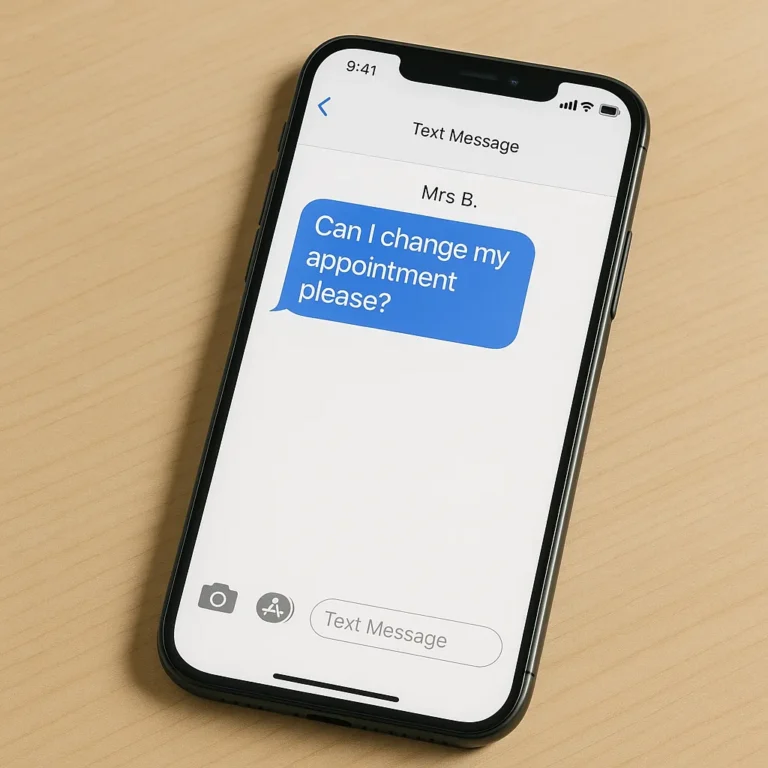
Health details should never go through regular email or text. It’s not secure. It puts clients at risk and leaves you open to legal exposure, especially under data protection laws in the UK and similar rules elsewhere. You’ve probably seen articles about data security breaches in the news from time to time.
Use encrypted, purpose-built tools for forms and records. If you’re unsure, check with your insurer or regulator.
Step-by-Step Guide to Creating Supportive Clinical Intake Forms
Here’s a practical checklist you can put to work today. It balances legal and clinical needs with ease of use, which makes a massive difference in your day-to-day.
Step 1: Decide What You Truly Need
Not everything belongs on the first form. Focus on safety, legal obligations and what you need for a safe start to care. This aligns with UK data protection law, and similar standards elsewhere. Skip “just-in-case” details that make forms feel endless. Avoid questions that apply to only a small slice of your client base. Pick up those questions during the consultation when you can also check the context.
Tips to set the right baseline:
A quick way to refine this is to review the last ten new clients. What information did you actually use in session one? Keep that. Park the rest.
Step 2: Choose a User-Friendly Format
Make it easy to complete the forms on a phone or laptop. Offer paper forms if clients can’t access a device. For in-person clinics, a tablet in reception works well, or tidy paper forms with a clipboard and pen.
Accessibility note: always offer a non-digital option for clients without tech access.

Step 3: Explain Every Step Like You’re Talking to a Friend
Clarity builds trust. Use a warm, brief intro that explains what the form covers, why you need certain details and how you keep information safe. Tell clients what to do if they can’t remember something.
You could include a note like this at the top:
“Thanks for completing your intake form. It helps me prepare a more tailored treatment for your first session, so that we can get good results, sooner. If you can’t remember a detail, it’s fine to say ‘not sure.’ We’ll go over anything important together. Your information is kept secure and used only for your care.”
Then outline what happens after submission:
“You’ll receive a booking confirmation by email. If anything is missing, I’ll follow up before your appointment.”
A possible reminder email: “Hi [Name], I’m looking forward to seeing you on [date/time]. I haven’t received your clinical intake form yet. I need it before your appointment or we can’t go ahead. Please submit it by [deadline]. If you have any questions, reply to this email and I’ll help.”
I used to explain to clients that their medical history could provide me with clues to why their condition kept coming back (if it did). That information could help me to treat the underlying cause, not just the symptoms. It didn’t matter if they couldn’t remember the year something occurred but a sequence of events could help.
Step 4: Automate Where You Can
Automation is your friend, not your replacement. Use online booking tools that send your forms automatically when a new appointment is booked. Add appointment reminders and friendly nudges for outstanding forms.
A personal touch still helps. You might review first-time bookings before the system sends the form, then add a short, warm note if you’ve already spoken. It takes a minute and goes a long way.
Helpful templates to save:
Step 5: Double-Check Your Privacy Rules
Use encrypted tools for forms and records. Do not collect health data via standard email or messaging apps. It’s risky for you and your clients.
If you’re unsure about a tool, ask your insurer or regulator. Keep your policies written down and stick to them. This protects both you and your clients.
Step 6: Make It Personal, Not Robotic
A little warmth brings a lot of calm. Add a short welcome line to your form or the accompanying email. Let clients know how to contact you if they’re stuck.
Simple ways to keep it human:
You’re not trying to sound like a robot. You’re trying to sound like you.
Example wording you can adapt:
“Hi [Name], welcome to my practice. If any question feels unclear, just say ‘not sure’ and we’ll go over it together. For anything urgent, text me to request a quick call. Please don’t include personal health details in a text.”
Step 7: Revisit and Improve Regularly
Your intake forms are living documents. Check them every few months and ask for honest feedback.
Useful prompts to discuss with clients:
Tweak as you go. This steady refinement saves time and builds trust as your practice grows. Keep balancing comfort with clinical and legal needs. You’ll feel the difference in your diary and your headspace.

Grab the Printable Checklist
Want a quick way to put this into action? There’s a simple, printable checklist that brings all these steps together, from deciding what you truly need to getting your privacy setup right. Use it to review your current forms and make changes in one focused session.
What it covers:
Pop the kettle on, print it out and get your forms sorted in under an hour.
Your clinical intake process for health practice is more than admin. It’s the first promise you make to a new client that they’ll be heard and cared for. Start by cutting what you don’t need, explain what you do need and make the whole path feel safe and simple. Automate the boring bits, keep people’s data secure and review your forms often. Ready to save time and reduce cancellations? Tidy up your forms today, then enjoy the calmer mornings that follow.
Please Share
Have you got a question that I haven’t answered here? Drop it in the comments. This space is for sharing, not just reading. Sometimes the best advice comes from those who’ve been in the same shoes.
Let’s build a supportive community where no one has to figure it all out alone. And if this helped you today, consider passing it on to a colleague who might need it – a little support goes a long way.
Please pin one of these images to your main business tips board!