The Real Cost of Waiting to Start Your Practice Part 2 – A No-Stress Launch Plan
You can keep waiting until you feel “ready,” or you can shift your mindset and get your practice open in a way that feels steady and manageable.
This No-Stress Launch Plan is your 7-day launch runway if you want to start a solo practice without turning it into a massive project. You don’t need a logo, a long service list, or a perfect website. You need a simple setup that lets you see clients, get paid, and learn what works from real life.
Because that’s the real issue with waiting: it doesn’t remove the hard parts. It just delays your learning, your income, and your confidence.
Why delaying your practice launch costs more than you think
In Part 1 of The Real Cost of Waiting to Start Your Practice, we looked at the hidden costs of delay during the pre-launch phase. Now we’ll look at how we can establish a clear timeline (initial – not set in stone) and move forward with a no-stress launch plan.
The “Small, Real, and Paid” starter formula (the core of a calm launch)
If you want a practice that doesn’t sprawl into a giant life project, start with a narrow first version.
Here’s the formula:
Start with 1 service
Pick one service you can deliver confidently right now.
Not “everything I can possibly do,” just the simplest offer you can explain in one sentence. You can add to it later. Starting small gives you a clean baseline, which makes decisions easier.
Start with 1 ideal client type
Think about one type of person you want to help. This is your initial target audience.
You’re not blocking everyone else from booking, you’re just deciding who you’re speaking to when you write your message, set up your intake, and talk to referral partners.
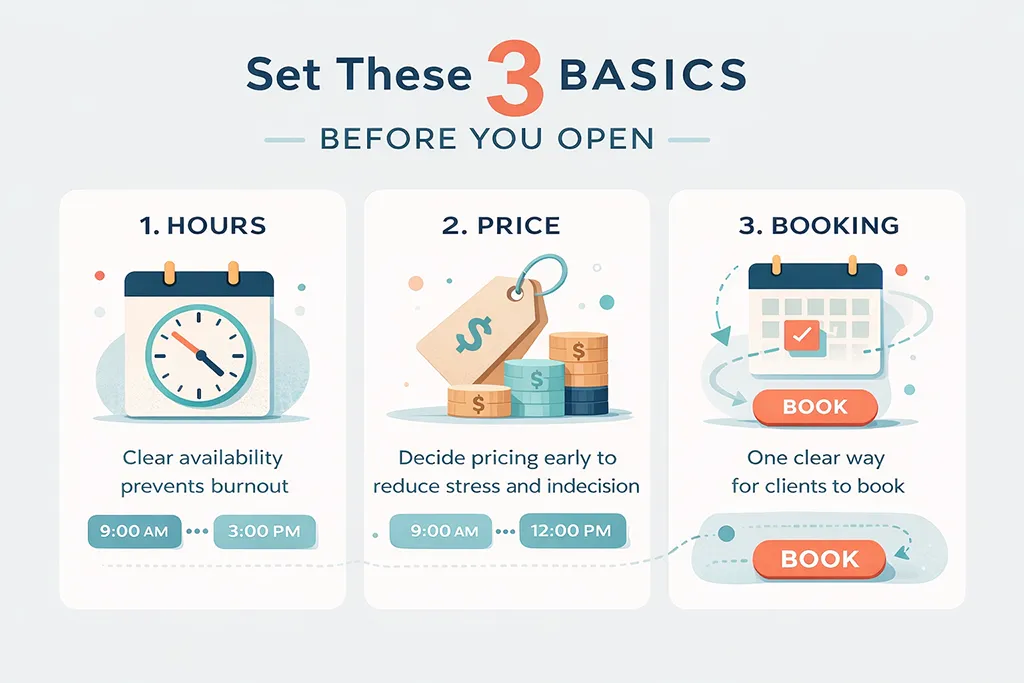
Set 3 basics before you open: hours, price, booking
This is the minimum you need to operate:
If you do only those three things, you can open. You can refine everything else once you have real feedback from real clients.
If premises are what’s holding you back, think outside the box as part of your marketing strategy (you’re allowed). You might lease a room from another clinic during their quiet hours, start with a mobile setup, or limit your early service so you don’t need any equipment yet. If you’re part of a professional group, ask around. Someone has almost always solved this problem before.
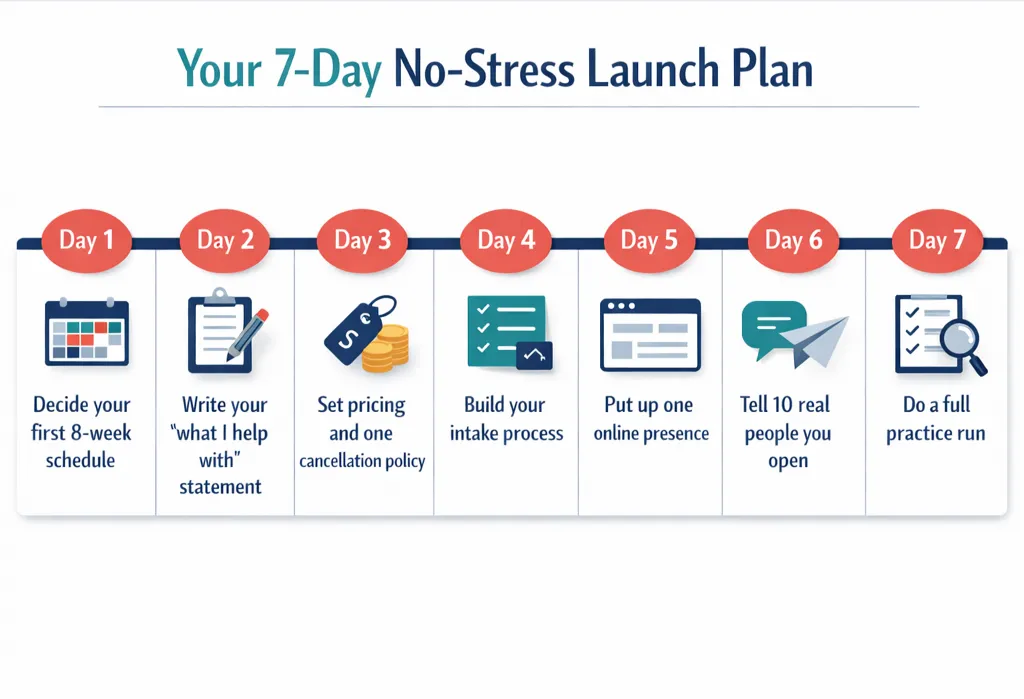
The 7-day No-Stress Launch Plan (day-by-day)
This launch checklist is built for action, not perfection. Your only goal is to be open in a simple, focused way, then improve as you go.
If this schedule doesn’t fit well for you, you can compress a couple of days together or stretch the plan across two weeks. Make the schedule work for you, the point is to achieve some forward motion.
|
Day |
What you do |
What “done” looks like |
|---|---|---|
|
1 |
Decide your first 8-week schedule |
A realistic schedule you can keep for 8 weeks |
|
2 |
Write your plain-language “what I help with” statement |
One paragraph, clear and simple |
|
3 |
Set pricing and one cancellation policy |
One fee, one policy |
|
4 |
Build your intake process |
Intake form, consent, payment method |
|
5 |
Put up one online presence |
Google Business Profile or a one-page site |
|
6 |
Tell 10 real people you’re open |
A short message with your booking link |
|
7 |
Do a full practice run |
Test your process from booking to follow-up, tighten the gaps |
If you want a broader big-picture checklist of setup steps, the US Small Business Administration has a simple step-by-step business launch guide.
Day 1: Choose an 8-week schedule you can actually keep
This is not your forever schedule. It’s your first stable block.
Pick days and times you can commit to without needing heroic energy. Start smaller than your ego wants. Consistency beats intensity, especially early on.
If you’re torn, choose the schedule that makes it easiest to show up every week without resentment.
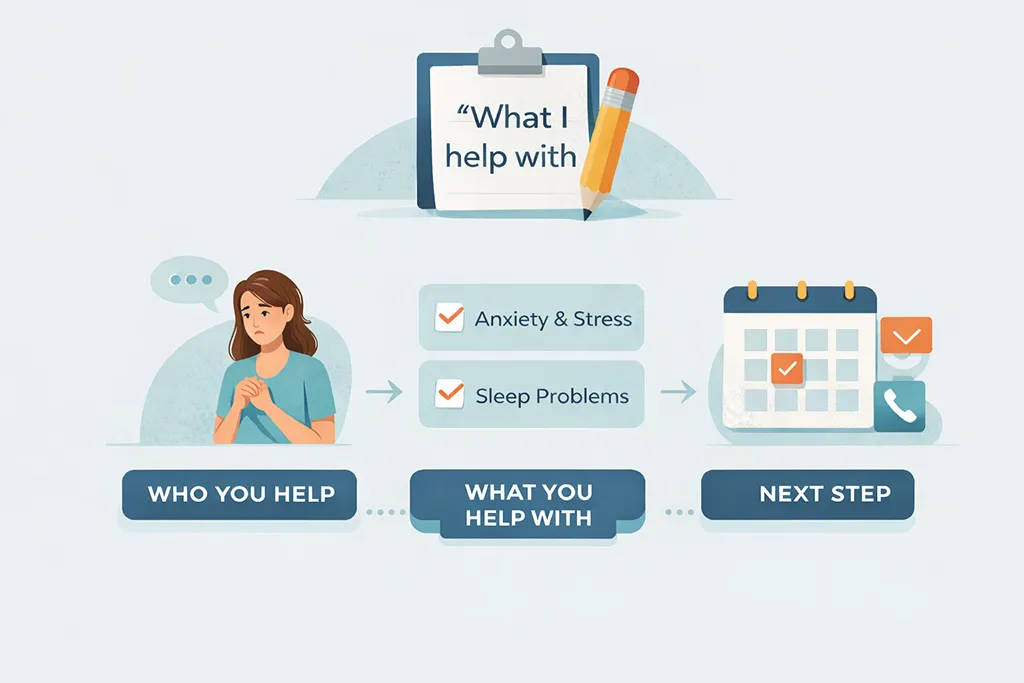
Day 2: Write a one-paragraph “What I help with” statement
Keep it simple. Plain language wins.
You’re aiming for something like:
If you can say it out loud without stumbling, you’re in good shape.
Day 3: Set your initial price and one clear cancellation policy
Pick a price you can stand behind. Not the price that makes you feel guilty, not the price you chose because you panicked and copied someone else. Try not to undercut competitors, if you really have to lowball your price, then at least offer it as a discount rather than as the regular price you intend to charge.
Then choose one cancellation policy that’s easy to explain and easy to apply. Your future self will thank you when you’re tired and someone no-shows. I added mine after a few months of working and found that I had one or two clients who made a habit of cancelling or showing up late. Those conversations would have been a lot easier if I’d had the cancellation policy in place to start.
Day 4: Create a basic intake process (intake, consent, payment)
This is your “client pathway.” It doesn’t need bells and whistles, it needs to work.
Your basic intake process includes:

Day 5: Put up one simple online presence
Choose one:
The point is that someone can find you, understand what you do, and take the next step. You can build the fancy version later.
Day 6: Tell 10 people you’re open (and include your booking link)
This is where most people get awkward, so let’s make it easy.
Pick 10 real humans:
Contact them however is easiest for you, DM, phone call, text – just a short message with your booking link. You’re not “announcing to the world.” You’re simply letting people know you’re available.
Day 7: Do a full practice run (booking to follow-up)
Run the whole sequence end-to-end:
Is this your order? Switch it around if needed. Do you take payment at the appointment rather than before? Do you have an extra step that isn’t included here?
Time it. Notice what feels clunky. Fix one thing.
If it feels too scary to ask a friend to test it, you can play both roles (client-you and practitioner-you). Slightly weird, very effective.
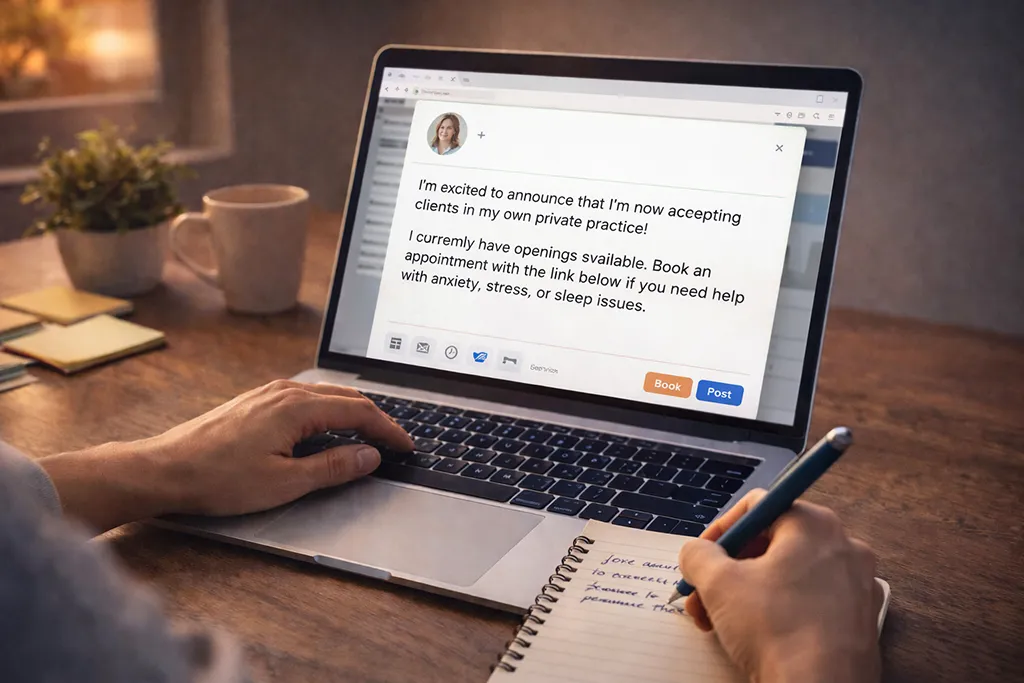
What to say when you announce you’re open (use this script)
You don’t need a polished launch post. You need a clear message.
Here is a script you can copy and adjust as promotional content:
“I’m now open and taking clients on (days). I help with (1 to 2 issues). You can book here: (your link).”
“If you know someone who’s been dealing with (issue), I’d love to help.”
“I’m starting with a small schedule, so early bookings are appreciated.”
Keep it friendly, direct, and short.
What “success” looks like in your first 8 weeks
Your first 8 weeks post-launch are a learning phase. You’re building a base.
Pay attention to the things you can only learn by doing:
This is also where confidence comes from. Not from thinking, from repetition. Seeing those first clients will give you your initial testimonials, and these small practice wins pave the way for expanding your services wider.
If you want a simple way to track progress without turning it into homework use something like this:
|
Metric |
Target |
Actual |
|---|---|---|
|
Visits per week |
||
|
Gross revenue per week |
||
|
Admin time per week |
||
|
Rebook rate |
Keep the numbers rough. The point is to spot patterns early in your start up.
Waiting feels safe, but it’s rarely free. The real cost shows up as delayed income, delayed learning, and delayed confidence, plus the quiet mental load of carrying an unfinished goal during the pre-launch phase.
If you do one thing today, make it this: pick a launch event date you can commit to, even if it’s part-time. Then tell one real person you are open. Starting imperfectly isn’t a flaw, it’s how you build a practice that works in real life.
Please Share
Have you got a question that I haven’t answered here? Drop it in the comments. This space is for sharing, not just reading. Sometimes the best advice comes from those who’ve been in the same shoes.
Let’s build a supportive community where no one has to figure it all out alone. And if this helped you today, consider passing it on to a colleague who might need it – a little support goes a long way.
Please pin one of these images to your main business tips board